You have created all the necessary files in previous parts. In this part we will add scaffolded item in controllers and Run our project.
PART 1: Create New MVC 5 Project and Install EF 6
PART 2: Create Entity Data Model and Class in EDMX Designer
PART 3: Generating Database From Entity Class Designed in EDMX
PART 4: Add Scaffolded Item and Run Your Project
Add Scaffolded Item for CustomerProfile
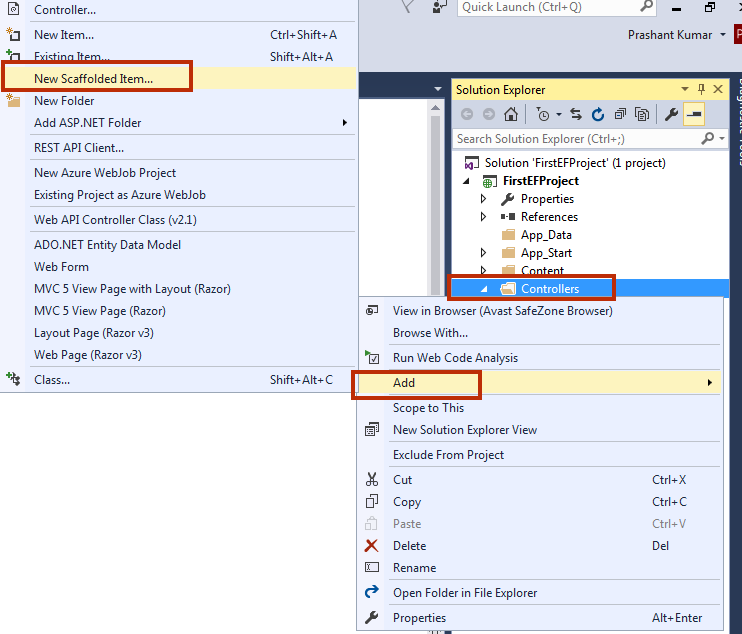
1. Right click on Controllers folder Add New Scaffolded Item.
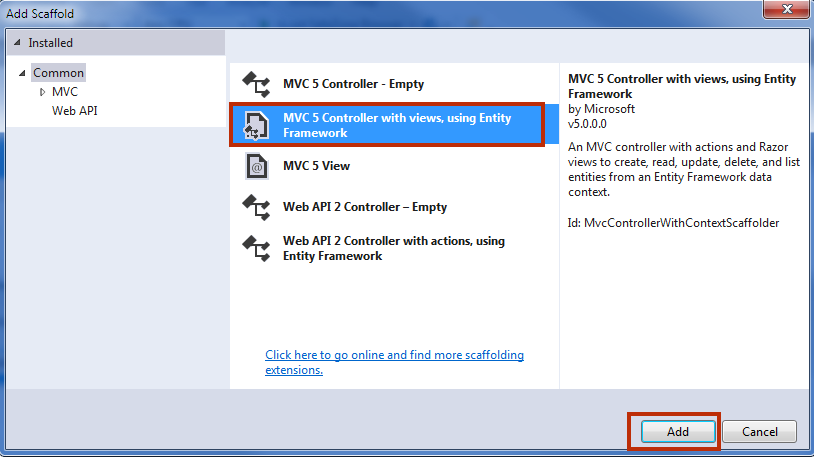
2. Select MVC 5 Controller with views, using Entity Framework. Click on Add button.
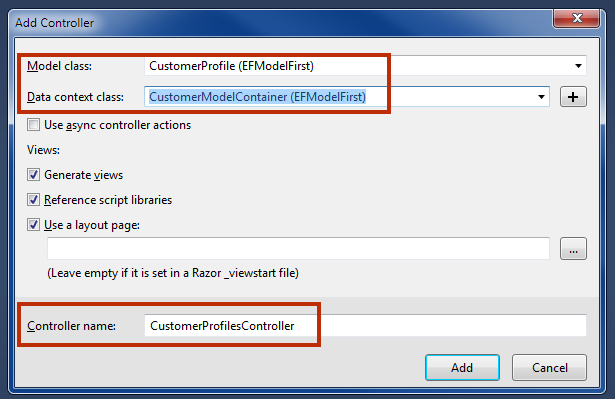
3. In the next window, select CustomerProfile (EFModelFirst) as Model class and CustomerModelContainer (EFModelFirst) as Data context class. Click on Add button.
Add Scaffolded Item for CustomerPurchase
1. Right click on Controllers folder Add New Scaffolded Item.
2. Select MVC 5 Controller with views, using Entity Framework. Click on Add button.
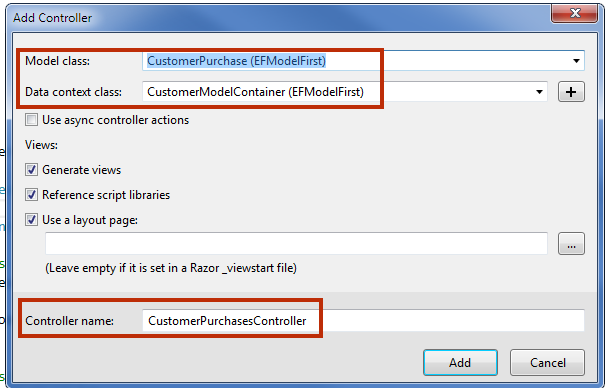
3. In the next window, select CustomerPurchase (EFModelFirst) as Model class and CustomerModelContainer (EFModelFirst) as Data context class. Click on Add button.
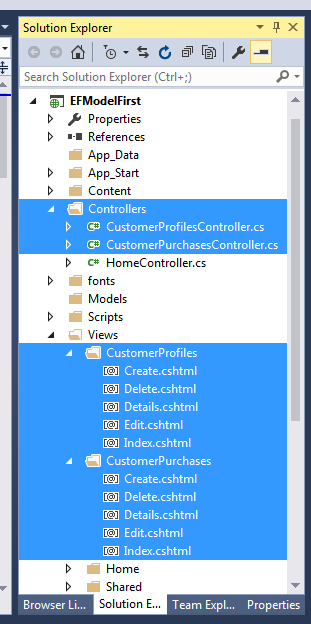
4. Now your Solution Explorer will look like this.
Adding Link on Navigation Menu
Now, add two link in navigation menu for CustomerProfile and CustomerPurchase and run your program.
1. Open Views Shared _Layout.cshtml
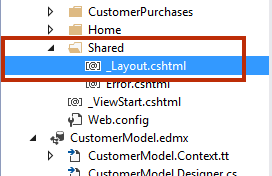
2. Add link like that.
<div class="navbar-collapse collapse">
                <ul class="nav navbar-nav">
                    <li>@Html.ActionLink("Home", "Index", "Home")</li>
                    <li>@Html.ActionLink("About", "About", "Home")</li>
                    <li>@Html.ActionLink("Contact", "Contact", "Home")</li>
                    <li>@Html.ActionLink("Customer Profile", "Index", "CustomerProfiles")</li>
                    <li>@Html.ActionLink("Customer Purchase", "Index", "CustomerPurchases")</li>
                </ul>
            </div>
Run your Project
Press F5 to run your project.
Output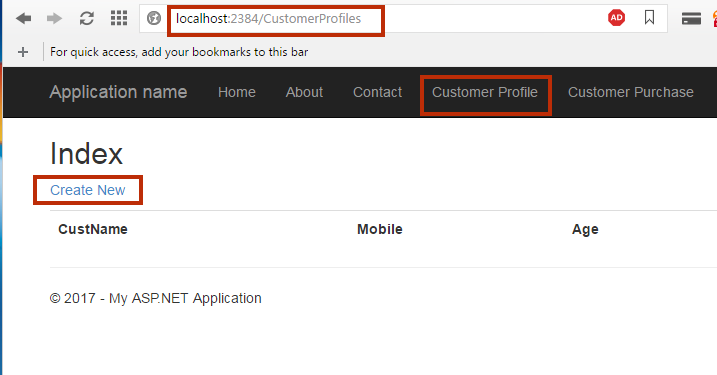
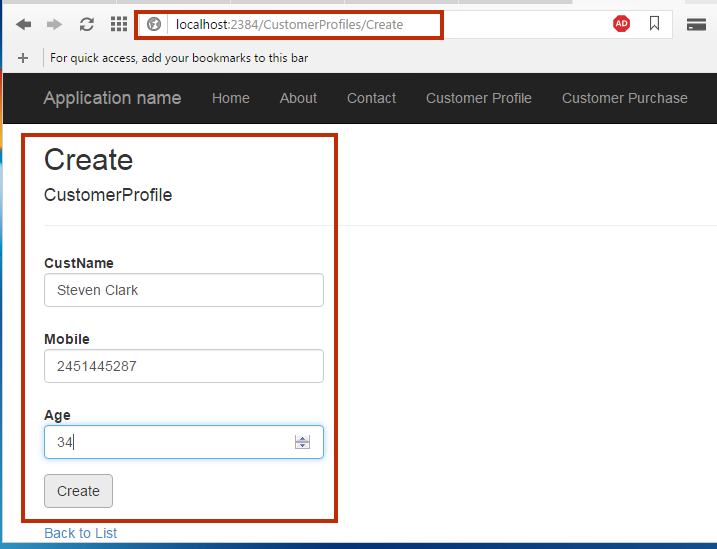
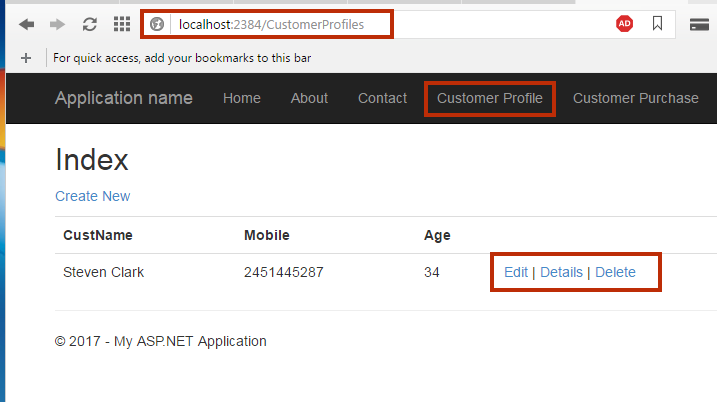
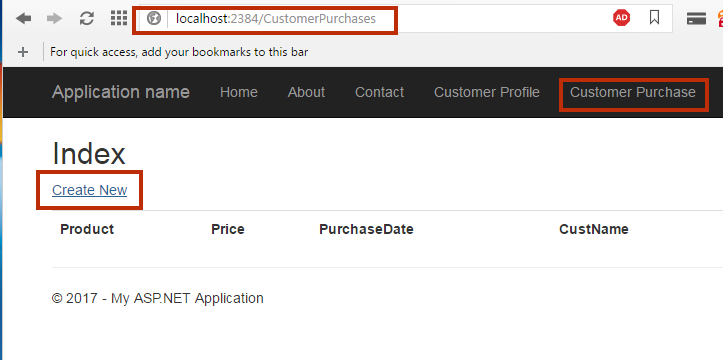
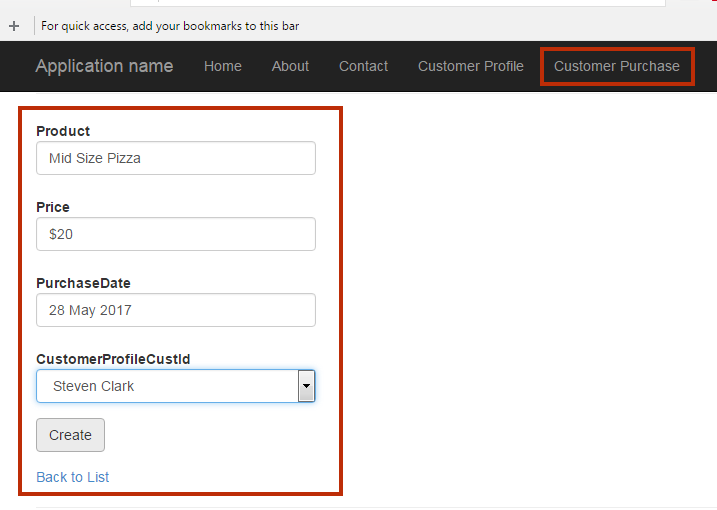
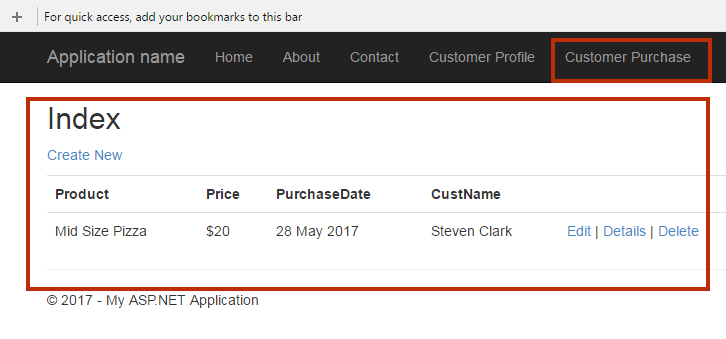
Summary
In this tutorial, you learned Entity Framework Model First approach in details with complete programming example. I hope, you wouldn’t have any problem completing this project.
In the next section you will learn How to Manually Seed Data into Database using Code First.