Till now, you have designed your entity model in EDMX Designer. It’s time to generate database and tables from your model.
PART 1: Create New MVC 5 Project and Install EF 6
PART 2: Create Entity Data Model and Class in EDMX Designer
PART 3:Generating Database From Entity Class Designed in EDMX.
PART 4: Add Scaffolded Item and Run Your Project
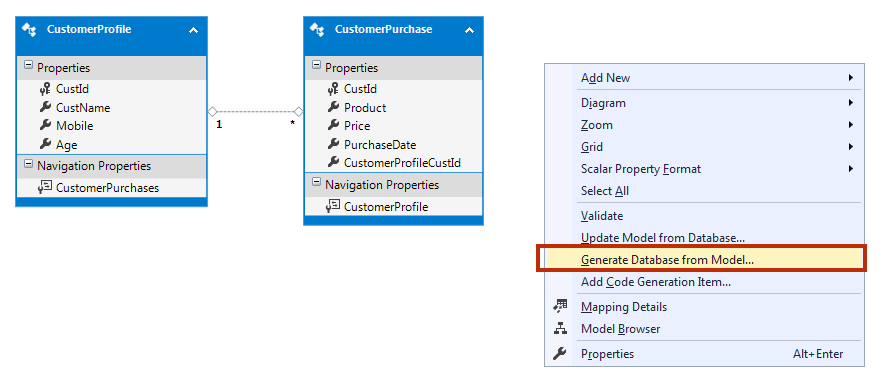
2. A Connection wizard will appear. This wizard guides you to make a successful connection to the server. Click on New Connection button.
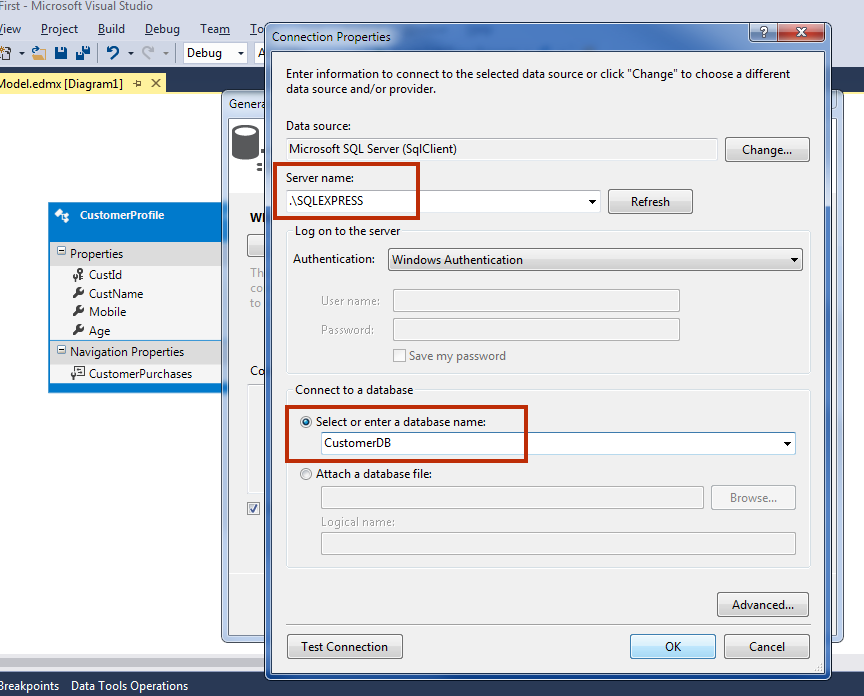
3. Give server name as .\SQLEXPRESS and Enter Database name as CustomerDB. Click OK Button.
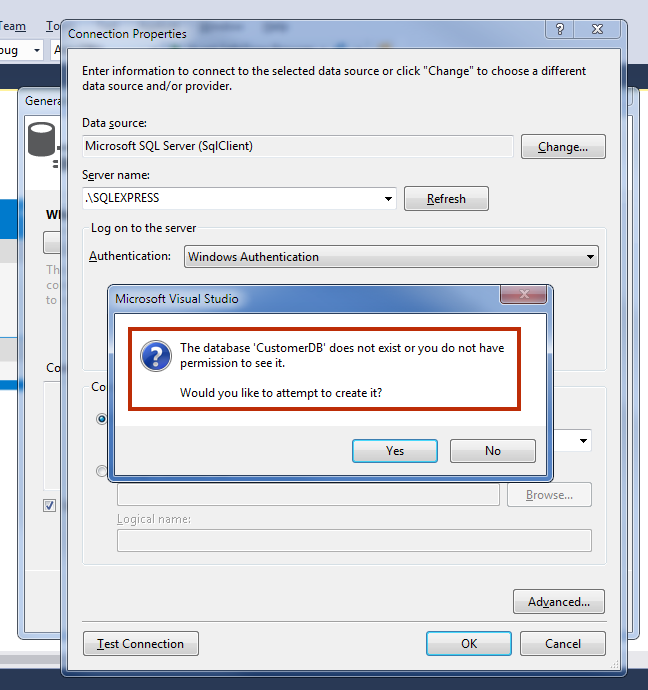
4. A confirmation box will ask you to create a new database. Click on Yes button.
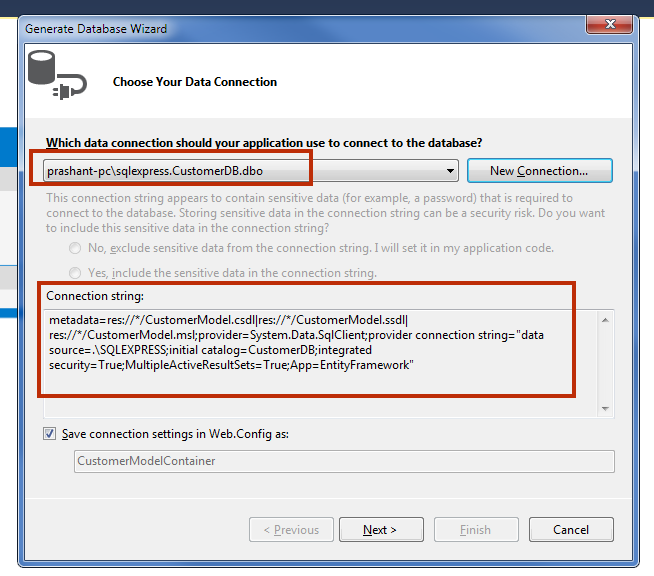
5. Database CustomerDB is created and you can see the connection string in next wizard. Click Next.
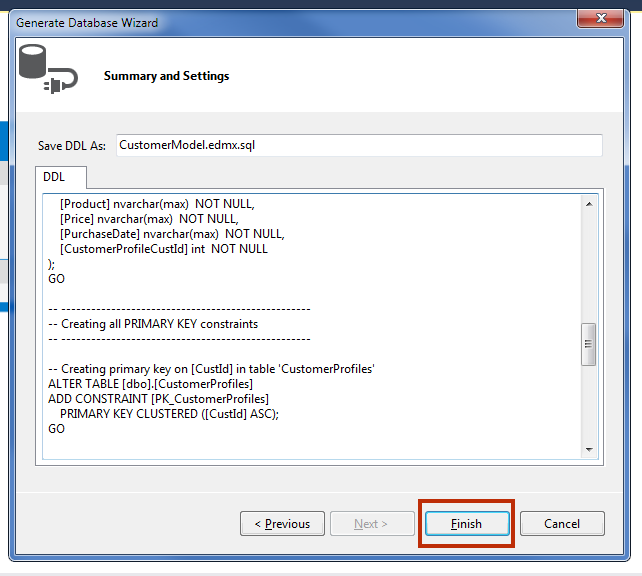
6. In the next wizard, a script is ready. Click on Finish button.
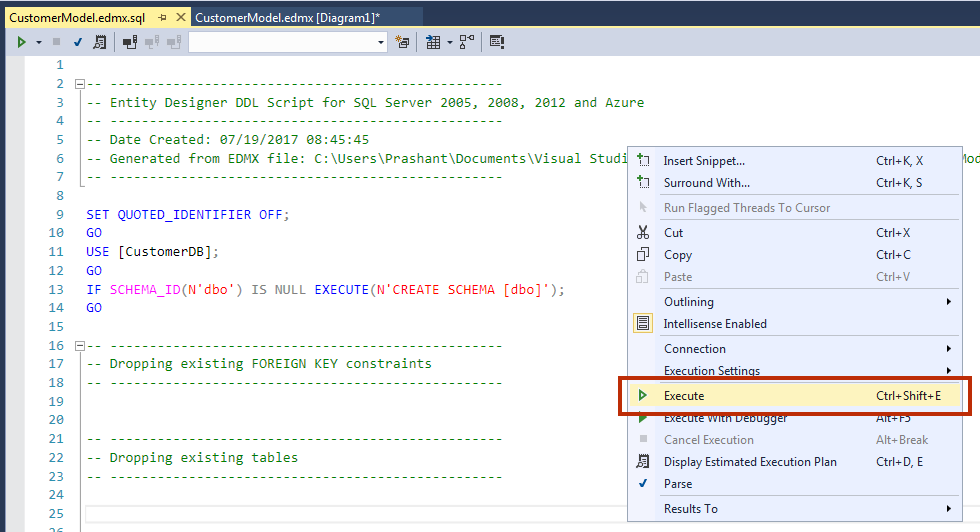
7. You will see that a new page adds in your project with SQL script. Right Click on it Execute.
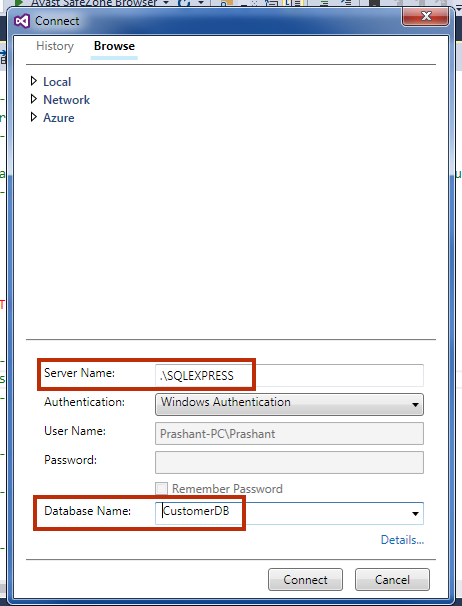
8. In the next window, provide server name as .\SQLEXPRESS and then select CustomerDB database. Click connect.
You will get command (s) completed successfully. Congratulations. You have created entity model and generated database and tables. Now, it’s time to generate controller and view page for your project.
Summary
In this chapter, you learned how to generate the database from Entity Model which is designed in EDMX Designer. In the next Part, we will add Scaffolded Item and Run the Project.